
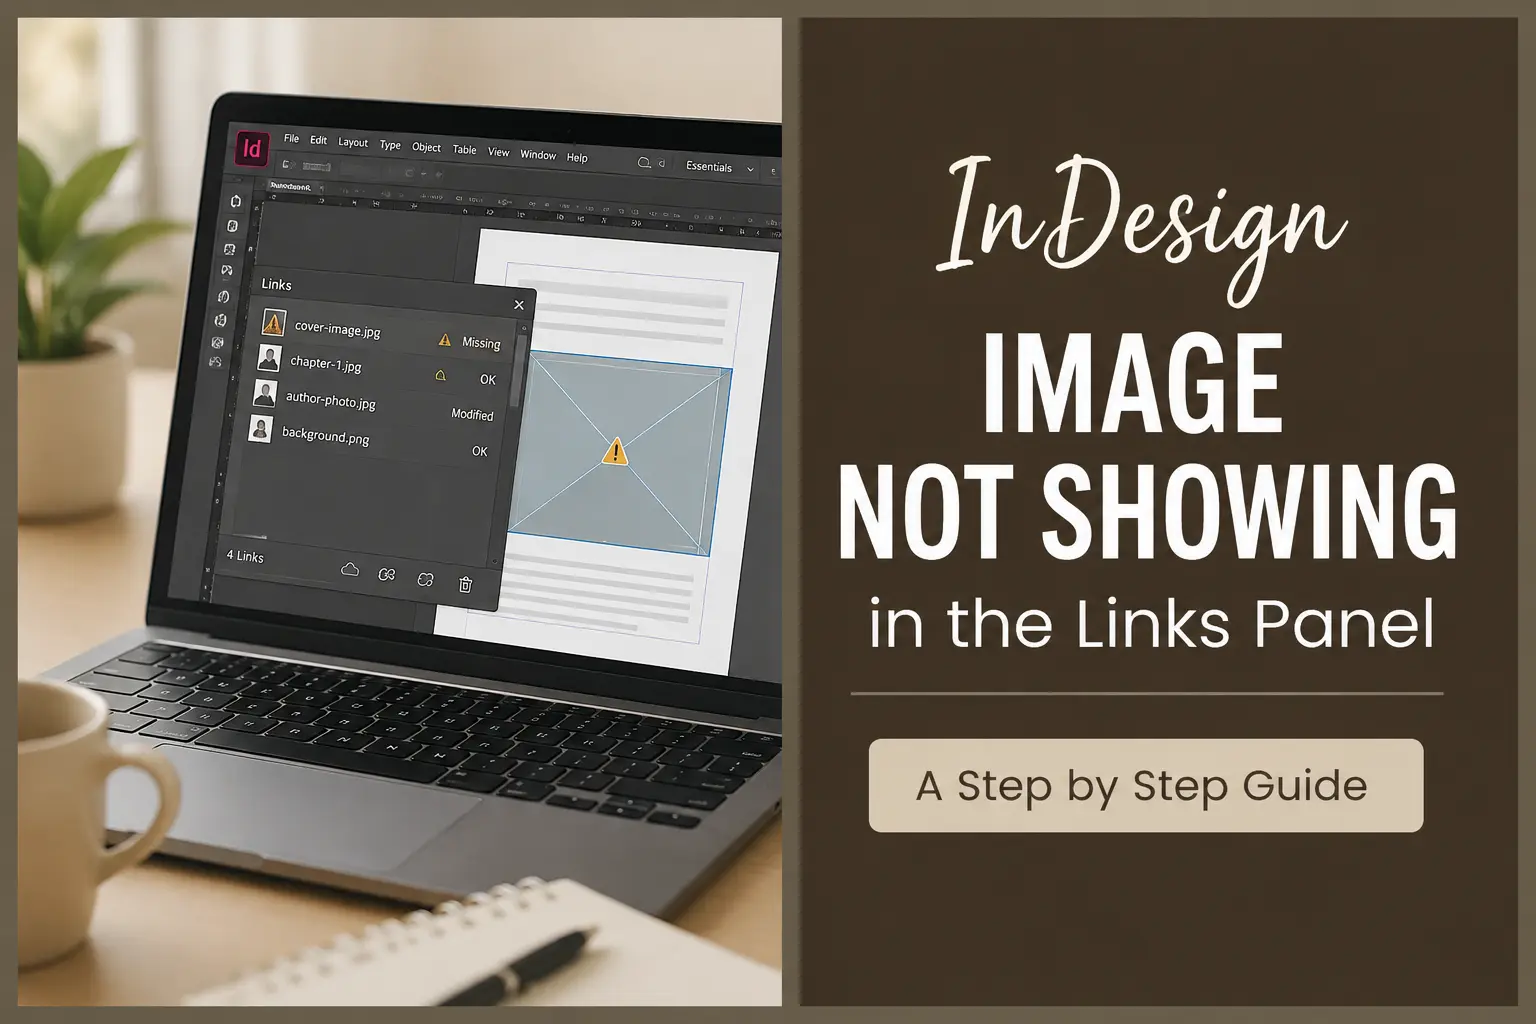
If you are working in Adobe InDesign and an image is not appearing in the Links panel, it can be confusing, especially when you need to package your document or check whether all your images are properly linked.
In most cases, the problem is caused by the way the image was added to the document. The image may have been pasted directly into InDesign, embedded, placed inside another object, or the Links panel may simply be hidden.
Here is a simple step by step guide to help you find the problem and fix it.
Step 1: Open the Links panel
First, make sure the Links panel is actually open.
Go to:
Window > Links
You should now see the Links panel, usually on the right side of your InDesign workspace.
If your document contains placed images, they should normally appear in this panel.
Step 2: Select the image
Click on the image that is not appearing in the Links panel.
Make sure you select the image frame itself.
You can tell that the frame is selected when you see the bounding box around the image.
Now look at the Links panel again.
If the image appears there, the link is working correctly.
If nothing appears, continue with the next step.
Step 3: Check if the image was pasted into InDesign
One of the most common reasons an image does not behave as expected is that it was copied and pasted directly into InDesign.
For example, you may have copied an image from a website, Photoshop, Canva, Preview or another application and then pressed Command V or Ctrl V in InDesign.
This is different from placing an actual image file.
For book design and professional print work, it is usually better to use the original image file and place it into InDesign.
Step 4: Place the image instead
Save the image somewhere on your computer first.
It can be a JPG, PNG, TIFF or another supported image format.
Then in InDesign go to:
File > Place
You can also use:
Command D on Mac
or
Ctrl D on Windows
Find your image and click Open.
Now click on your page to place the image.
Open the Links panel again.
The image should now appear in the list.
Step 5: Check whether the image is embedded
Sometimes an image is technically in the Links panel but is embedded inside the InDesign document.
Look at the image entry in the Links panel.
If you see the embedded link indicator, the image has been embedded rather than remaining as a normal external file.
This means the image data is stored inside the InDesign document.
For a simple project this may not cause an immediate problem, but for larger book projects it is usually better to keep your images properly linked and organised in a project folder.
Step 6: Unembed the image
If your image is embedded, you may be able to turn it back into a normal linked image.
Select the image in the Links panel.
Open the Links panel menu.
Look for the option to Unembed File.
InDesign will ask you where you want to save the image.
Choose a folder inside your project folder and save the image there.
The image will then be saved as a separate file and linked back to your InDesign document.
Step 7: Try Relink
If the image is already listed in the Links panel but InDesign cannot find the original file, you may see a missing link warning.
Select the image in the Links panel.
Choose Relink from the Links panel menu.
Find the original image on your computer and select it.
Once InDesign finds the file, the missing link warning should disappear.
This is especially useful if you have moved your images to another folder or renamed them.
Step 8: Check the Links panel for warnings
The Links panel gives you useful information about your images.
A normal link means InDesign can find the image.
A missing link means InDesign cannot find the original image file.
A modified link means the original image has been changed outside InDesign and InDesign may need to update it.
An embedded image means the image is stored inside the InDesign document instead of being connected to an external file.
Before exporting a book, it is a good idea to check the Links panel and make sure there are no missing or outdated images.
Step 9: Check images inside groups
Sometimes the problem is not the image itself. The image may be inside a group.
If you have several objects grouped together, clicking once may only select the entire group.
Try entering the group and selecting the actual image.
You can also use the Layers panel to locate individual objects.
Once the actual image is selected, check the Links panel again.
Step 10: Check anchored images
Images can also be placed inside text as anchored objects.
This is common in books, especially when working with illustrations, diagrams and figures.
An anchored image should still have a link if it was properly placed from an external image file.
Select the anchored image and check the Links panel.
If it is not listed, it may have been pasted rather than placed.
Step 11: Use the original image file
For professional book formatting, I recommend keeping your project organised from the beginning.
For example, you can create a folder like this:
Book Project
InDesign
Images
Fonts
Keep your original images inside the Images folder and place them into InDesign using File > Place.
This makes it much easier to package the book later and find missing files.
Step 12: Check everything before sending the book
Before delivering a print ready PDF or sending the InDesign package to someone else, open the Links panel and check your images.
Look for missing links and modified links.
If you have hundreds of images, you can use the Links panel to quickly identify problems instead of checking every image manually.
Why this happens
If your image is completely missing from the Links panel, the first thing I would check is how the image was added to the document.
If you used File > Place, InDesign normally creates a link to the original image file.
If you copied and pasted the image, InDesign may handle it differently, depending on where the image came from and how it was copied.
For book design projects, using File > Place is the safer workflow because your images remain organised as separate files and can be managed through the Links panel.
Final check
Before you continue working on your book, select the image and check the Links panel.
If it is not there, remove the pasted image and place the original image again using File > Place.
If it is there but shows a warning, use Relink or Update Link as needed.
Once your images are properly linked, your InDesign file will be much easier to manage, package and hand over to another designer or printer.
If you regularly work on KDP, IngramSpark or print book projects, keeping your Links panel clean is a small step that can prevent a lot of problems later.